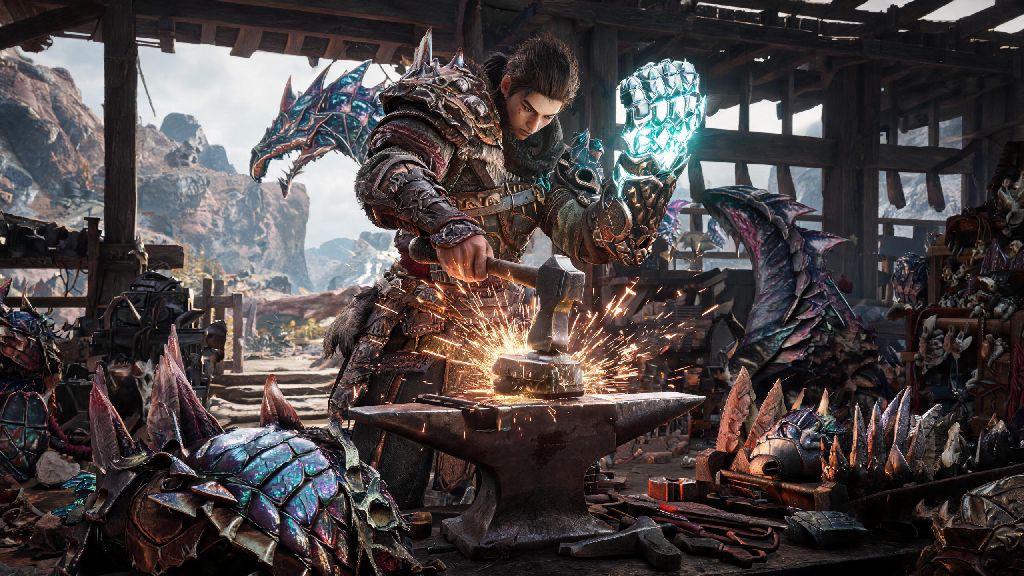
If you’ve ever charged into a fight against a flaming elder dragon only to get knocked out in one hit, you already know how critical strong armor is to surviving Monster Hunter Wilds’ harshest encounters. Most new players pick up a solid low-rank armor set early on and forget to improve it as they progress, leaving them at a huge disadvantage against harder monsters as they move up the ranks. This guide breaks down exactly how to upgrade armor in Monster Hunter Wilds, with player-tested tricks to get the most out of every material you farm, no wasted resources required.
How to Upgrade Armor in Monster Hunter Wilds: Basic Step-by-Step Process
Upgrading your armor is surprisingly straightforward once you know where to look, and you don’t have to trek all the way back to the main settlement every time you want to make improvements. You can access upgrade features at any Smithy station, including the portable ones found at every established wilderness camp on the map. The full process takes less than a minute once you have all required materials:
You can upgrade each individual armor piece up to 5 times per rank before you need to unlock the next tier of that set via forging. It’s worth noting that upgrades carry over if you later unlock a higher rank version of the same armor set, so you won’t lose any of the resources you put in early on. That’s a huge quality of life change from older Monster Hunter titles, where you had to start from scratch every time you moved to a new rank.
Which Armor Stats Should You Prioritize When Upgrading?
Most new players assume higher defense is the only thing that matters when upgrading armor, but that’s far from the truth. Every upgrade also unlocks or boosts built-in armor skills, adds extra decoration slots, and can even improve elemental resistance for specific monster fights. What you prioritize will depend on your playstyle, but there are a few stats that are almost always worth investing in first.
If you’re a melee player who spends most of their time close to monsters, raw defense should be your first priority for the first 3 upgrades of any set, followed by skills that boost your stamina or reduce knockback. Ranged players can get away with skipping a few defense upgrades to focus on skills that boost their attack power or reduce recoil, as long as you’re confident in your ability to dodge hits. For elemental fights, like facing a water or fire elder dragon, upgrading for elemental resistance can cut damage taken by up to 40% even if your raw defense is slightly lower.
It’s also worth paying attention to decoration slot levels that unlock at higher upgrade tiers. A level 4 decoration slot lets you equip far more powerful skills than a combination of lower level slots, so it’s often worth upgrading a piece of armor one extra time just to unlock that slot even if you don’t need the extra defense.
Advanced Armor Upgrade Tips for Mid and Endgame Players
Once you hit high rank, the upgrade system gets a little more complex, with special materials that let you customize your armor far more than you can in the early game. I’ve spent dozens of hours testing different upgrade paths in endgame content, and there are a few tricks that most new players miss that save hours of farming time.
First, don’t sleep on anomaly augmentation for master rank armor. This lets you add extra stats or skills to your armor pieces beyond their maximum standard upgrade level, using materials you get from anomaly investigation quests. You can choose to add extra defense, elemental resistance, skill points, or even extra decoration slots, depending on what your build is missing. It’s far more efficient to augment a well-rolled armor piece than it is to farm for a whole new set unless you’re switching up your playstyle entirely.
Another trick I swear by is upgrading a single “general use” armor set first before focusing on niche elemental sets. A well-upgraded general set with good all-around resistance and universal skills like Speed Sharpening or Wide Range will work for 90% of the quests you’ll run, so you don’t have to waste materials upgrading 4 different elemental sets before you even reach master rank. You can always build and upgrade niche sets later once you have a solid stock of materials and zenny saved up.
If you’re playing with a group, you can coordinate upgrades to cover gaps in your team’s build. For example, if you’re the team’s support player, you can prioritize upgrading armor pieces that boost Wide Range and Item Prolonger instead of attack stats, so you can keep your team alive even during the hardest fights.
Common Armor Upgrade Mistakes to Avoid
Even veteran Monster Hunter players make upgrade mistakes when they first jump into Wilds, thanks to a few small changes to the system from older entries. These mistakes can waste hours of farming time and leave you underpowered when you need to be at your strongest, so it’s worth knowing what to look out for.
The biggest mistake I see new players make is upgrading every single armor piece they pick up as soon as they can. Low rank armor becomes obsolete as soon as you hit high rank, so you only need to upgrade your current set enough to get you through the next rank unlock, no more. Wasting rare materials on low rank armor you’ll throw away in 5 hours is never a good call, even if the upgrade seems cheap at the time.
Another common mistake is ignoring set bonuses when you choose which armor to upgrade. A full set of lower defense armor with a strong set bonus like Attack Up L or Divine Blessing will almost always perform better than a mismatched set of higher defense pieces with no cohesive skills. Always check the full set bonus before you sink materials into upgrading individual pieces, to make sure the bonus is worth investing in for your build.
Finally, don’t forget to check if you can unlock a higher tier of the same armor set before you max out upgrades on the lower tier. For example, if you have a low rank Kulu-Ya-Ku chest piece at max upgrade, you can forge the high rank version for less materials than it would take to upgrade the low rank piece two more times, and get way better stats in the process. It only takes a few seconds to check the forging tab before you hit upgrade, and it can save you a ton of resources in the long run.
At the end of the day, learning how to upgrade armor in Monster Hunter Wilds is one of the most important skills you can master to make your playthrough smoother and more fun. You don’t have to follow meta builds perfectly to get the most out of your upgrades, as long as you prioritize stats that fit your playstyle and avoid wasting materials on gear you won’t use for long. Take a minute to check your armor upgrades before your next big hunt, and you’ll be surprised how much easier even the toughest monster fights feel.