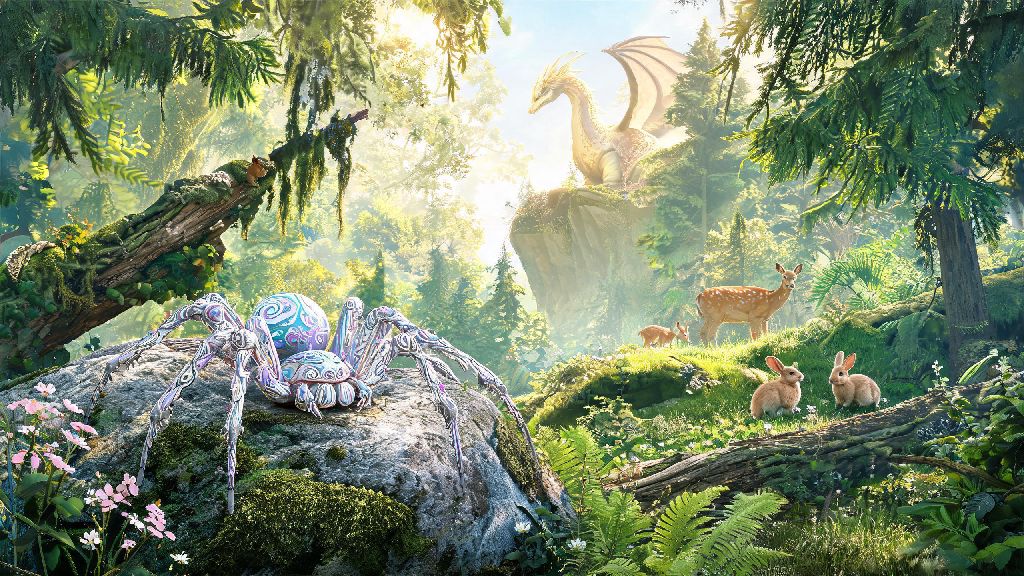
The Monster Hunter franchise has always featured a huge range of enemy designs, from gentle, grazing herbivores to terrifying, world-ending elder dragons, but arachnid monsters have long been one of the biggest barriers for new players who want to get into the series. Before Wilds launched, dozens of threads on social media and gaming forums asked Capcom to add some kind of adjustment for spider-themed content, so it was a welcome surprise when the devs delivered a fully fleshed out accessibility feature for that exact need. If you’re someone who struggles with spider fears, the monster hunter wilds arachnophobia mode can make your entire playthrough far more comfortable, and most players don’t even know how many customization options it comes with. This guide breaks down exactly what the mode changes, how to turn it on, and how to tweak it to fit your specific comfort levels.
What Exactly Does Monster Hunter Wilds Arachnophobia Mode Change?
Unlike basic accessibility toggles in many other games that just add a content warning and leave it at that, Capcom worked directly with accessibility advocates and people living with arachnophobia to build a mode that removes triggering content without breaking immersion or core gameplay. None of the changes impact your quest progress, monster drop rates, or fight difficulty, so you won’t miss out on any content just for using the tool. The full list of adjustments includes:
If you play with co-op partners, the changes only apply to your screen, too. Your friends will see the original monster designs if they don’t have the mode enabled, and there are no sync issues or bugs associated with running the mode in multiplayer lobbies.
How to Enable and Customize Arachnophobia Mode in Monster Hunter Wilds
Capcom made the mode surprisingly easy to find, which is a nice change from the overly buried accessibility settings in many other AAA games. You can access it from both the main menu before you load your save, or from the in-game pause menu at any time, even mid-fight if you get caught off guard by a spider monster you didn’t know was in the area. To turn it on, open the settings menu, navigate to the Accessibility tab, scroll down to the Content Warnings & Adjustments section, then toggle the arachnophobia mode option on.
Once it’s enabled, you can use the two sliders below the toggle to adjust the intensity of the changes to fit your needs. The first slider controls how much monster designs are altered, so if you only have a mild aversion to spiders, you can set it to 50% to just soften the sharp edges and reduce the skittering animation speed instead of fully redesigning the enemy. The second slider controls how many environmental spider assets are swapped out, so you can leave small ambient critters in if they don’t bother you, or turn it all the way up to remove every trace of spider-related content from the world.
A lot of players forget that accessibility settings aren’t just for permanent disabilities, they’re also great for when you’re not in the right headspace to handle triggering content. If you’ve had a long day at work, or you’re just looking for a more low-stakes gaming session after a string of tough failed hunts, you can toggle the mode on without having to restart your game, the same way you might switch to a casual, low-pressure game like Yono Rummy if you don’t have the energy for an intense 40-minute monster fight that requires your full focus.
Common Misconceptions About Monster Hunter Wilds Arachnophobia Mode
Since the mode launched, there have been a lot of false claims floating around gaming forums about what it does and who it’s for, so we’re busting the most common ones here. First, a lot of players claim the mode makes the game easier, but that’s completely false. All monster stats, attack patterns, and damage values stay exactly the same, the only changes are visual and audio. The fight is just as challenging, you just don’t have to look at a giant spider while you do it.
Second, some players worry that using the mode will break multiplayer, but that’s not the case either. As we mentioned earlier, all changes are client-side, so other players in your lobby won’t be affected at all, no one else even has to know you have the mode turned on unless you tell them. There are no restrictions on joining public lobbies with the mode enabled, and you won’t get banned or flagged for using it.
Third, a lot of people assume the mode is only for players with severe, diagnosed arachnophobia, but that’s not what it’s designed for. You never have to justify using accessibility features to anyone, regardless of your reason for turning them on. I’ve talked to dozens of players who use the mode just because they find spiders gross or uncomfortable, and that’s a completely valid reason to use it. The point of accessibility settings is to make the game fun for as many people as possible, not just people who meet some arbitrary standard of “disabled enough” to use them.
Pro Tips for Using Arachnophobia Mode Comfortably
Most players just toggle the mode on and leave it at the default settings, but there are a few small tweaks you can make to get a way more comfortable experience. First, test the intensity sliders in a safe zone before you head out on a hunt. Load into the training area first to see what the adjusted monster designs look like, and tweak the sliders until you find a level that feels right for you. If you’re okay with small ambient spiders but hate the large boss ones, you can turn the environmental swap slider all the way down and the monster alteration slider all the way up to only adjust the content that actually bothers you.
Second, keep the quick toggle option enabled in your pause menu settings. This adds a one-tap button for the arachnophobia mode to the top of your pause menu, so you can turn it on or off in 2 seconds if you run into something you didn’t expect, no need to dig through multiple layers of settings mid-fight. This is especially helpful if you share a save file with someone else who doesn’t use the mode, or if your comfort levels change from day to day.
Third, if you’re still getting triggered even with the mode on, you can pair it with other accessibility settings to make the game even more comfortable. The enemy brightness slider lets you turn down the contrast of hostile monsters so they don’t stand out as much, and the camera shake reduction setting can remove the jarring movement that often comes with spider monster attacks. You can also turn on the enemy proximity warning setting to get an audio alert before a monster comes into view, so you won’t get jumpscared by any enemy, spider or otherwise.
Finally, don’t be afraid to give feedback to Capcom if you think something is missing. The devs have already released three small updates to the arachnophobia mode based on player feedback, adding adjustments for smaller spider-like enemies that were missed in the initial launch, and they’ve said they plan to keep updating the mode as more content is added to the game.
At the end of the day, games are supposed to be fun, and there’s no reason anyone should have to sit through triggering content just to enjoy the new Monster Hunter entry. The monster hunter wilds arachnophobia mode is one of the most thoughtful accessibility additions Capcom has ever made, and it opens the game up to thousands of players who would have otherwise skipped it entirely. Whether you have severe arachnophobia, just find spiders gross, or even just want a slightly different visual experience while you play, it’s worth taking a minute to adjust the settings to fit your needs. You’ll have a way better time hunting monsters when you don’t have to worry about being caught off guard by a giant skittering spider around every corner.