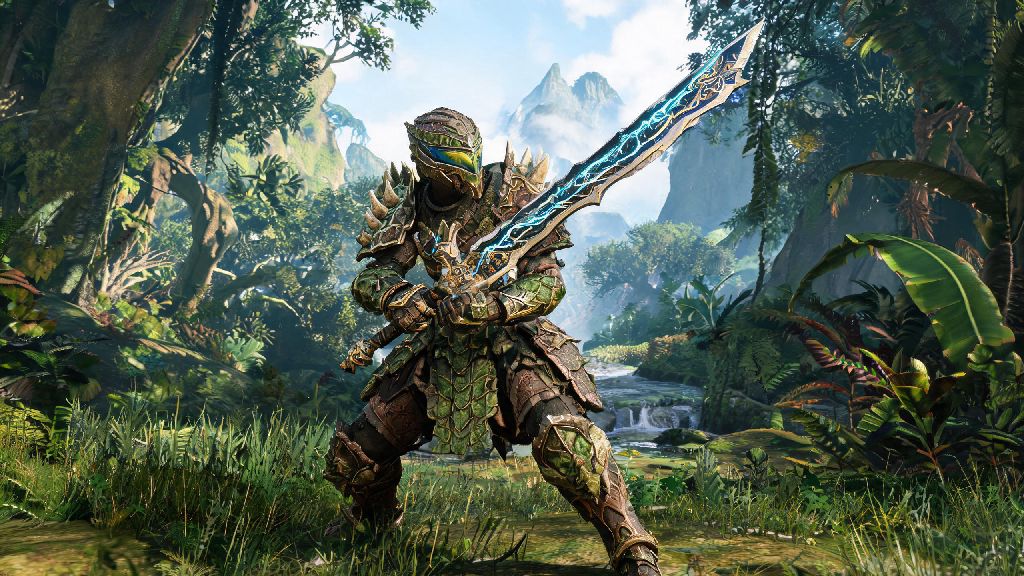
If you’ve ever spent 20 hours grinding for an endgame monster weapon only to hate how it looks on your hunter, you’re not alone. Monster Hunter Wilds layered weapons solve that exact pain point, letting you keep your high-damage build while rocking a skin that fits your personal aesthetic. I’ve sunk over 120 hours into the game so far, and I’ve tested every method to unlock these skins, along with all the little quirks most players miss when they first start messing with cosmetic gear.
What Are Monster Hunter Wilds Layered Weapons, and How Do They Work?
Layered weapons are purely cosmetic overrides that change the appearance of your equipped weapon without altering any of its functional stats. Unlike early Monster Hunter entries that forced you to choose between good looks and good performance, these skins let you use the meta build you worked hard for while looking exactly how you want. They work exactly the same way as layered armor, but apply exclusively to your weapon slot.
Layered weapons do not change your weapon’s move set, damage output, elemental properties, or sharpness bar in any way. You can swap between skins as often as you want for free at any item box, with no cooldowns or extra costs once you unlock a skin. I used to avoid using the highest raw damage Great Sword for months because its bright neon pink finish clashed with my black knight armor set, and layered skins fixed that issue completely.
You can apply different layered skins to each of your 14 weapon types independently too. That means you can have a spooky ghost-themed skin for your Hunting Horn, a pastel cute skin for your Dual Blades, and a gritty military skin for your Heavy Bowgun, all saved separately without any overlap. The only limit is how many skins you take the time to unlock.
Top Ways to Unlock Layered Weapons in Monster Hunter Wilds
There are multiple ways to earn layered weapon skins, ranging from automatic story unlocks to limited-time exclusive rewards. You don’t have to grind endgame content to get access to fun skins either, as plenty of basic options unlock within the first 10 hours of play. Below are the most reliable ways to expand your skin collection:
You don’t need to own the original weapon to unlock its layered version, which is a common misconception among new players. I thought I had to craft the rare Fatalis Longsword first to get its iconic dark skeletal skin, but I only needed to turn in 3 Fatalis mantles and 10 elder dragon blood to the blacksmith, no base weapon crafting required. That saves a ton of time and rare materials if you only want the look, not the actual weapon itself.
Just note that some event skins are only available for a 2 to 3 week window before they rotate out. If you see a skin that fits your style, prioritize that quest before it disappears, as there’s no guarantee it will come back to the event rotation for 6 months or more.
Pro Tips for Customizing Your Layered Weapons
Unlocking skins is only half the fun, as Monster Hunter Wilds lets you tweak most layered weapon designs to fit your preferences even further. Most players only scratch the surface of these customization options, so you can make your hunter stand out from other players even if you’re using a popular common skin.
You can adjust the glow intensity of elemental layered weapon skins in the customization menu, which is a game-changer for anyone who finds bright effects distracting during hunts. I love the Rathalos fire Great Sword skin, but its bright orange glow made it hard to see monster tells during tight hunts, so I turned the glow down to 20% to keep the look without the distraction. You can also turn off special attack effects entirely if you prefer a more muted, realistic look.
You can also save layered weapon settings to your custom build loadouts, so you don’t have to re-customize your skin every time you swap between builds. Saved loadouts will retain your layered weapon settings even if you swap the actual weapon in the build, which saves a ton of time if you regularly switch between meta and casual builds for different hunt types. I have 6 separate loadouts saved, each with its own matching layered weapon and armor set for different occasions.
That said, it’s best to avoid using extremely flashy, bright layered skins if you’re hunting in a full 4-person group. Overly bright or large skins can obscure monster tells, item drops, and even other players’ positions, which can lead to avoidable carts during tough endgame hunts. Save the most over-the-top skins for solo hunts or casual sessions with friends who don’t mind the extra visual noise.
Common Mistakes to Avoid With Layered Weapons
Layered weapons are pretty straightforward to use, but there are a few common mistakes that can waste your time or rare materials if you don’t know what to watch out for. I’ve made all of these mistakes myself, so you don’t have to learn the hard way.
The biggest mistake new players make is wasting rare, hard-to-farm materials on skins they’ll barely use. Anomaly investigation materials like tempered monster gems can take 10 or more hunts to get a single copy, so don’t blow your only tempered Rathian ruby on a layered skin you’ll try once and forget. Always test layered weapon skins in the item box preview before you spend materials to unlock them, as the preview shows exactly how it looks when you attack, sheath it, and stand idle, so you can make sure it’s worth the cost.
Another common mistake is forgetting to turn off layered weapons if you’re planning to submit speedrun attempts. Many official speedrun categories don’t allow cosmetic overrides, as some skins can obscure hitboxes or make it harder for moderators to verify your run. Double check the category rules before you record a run, or just turn off layered skins entirely for speedrun sessions to avoid issues.
Finally, don’t assume all layered weapons are available for every weapon type. Some collab and event skins are only designed for 2 or 3 specific weapon types, so don’t grind for hours for a skin only to find out it doesn’t work for your main weapon. I made that mistake last month, spending 3 days grinding a limited cat collab event for a cute paw-themed skin, only to find out it’s only available for Sword and Shield and Insect Glaive, and I main Light Bowgun. It was a huge waste of time that I could have avoided by checking the reward details first.
At the end of the day, Monster Hunter Wilds layered weapons are all about making your hunter feel like yours, without forcing you to choose between performance and style. You don’t have to grind every single skin available, but picking a few that fit your vibe will make every hunt feel more personal, even when you’re running the same endgame investigation for the 10th time. If you haven’t tried messing with them yet, head to your item box after your next hunt to see what skins you already have unlocked, you might be surprised by how many options you already have access to.