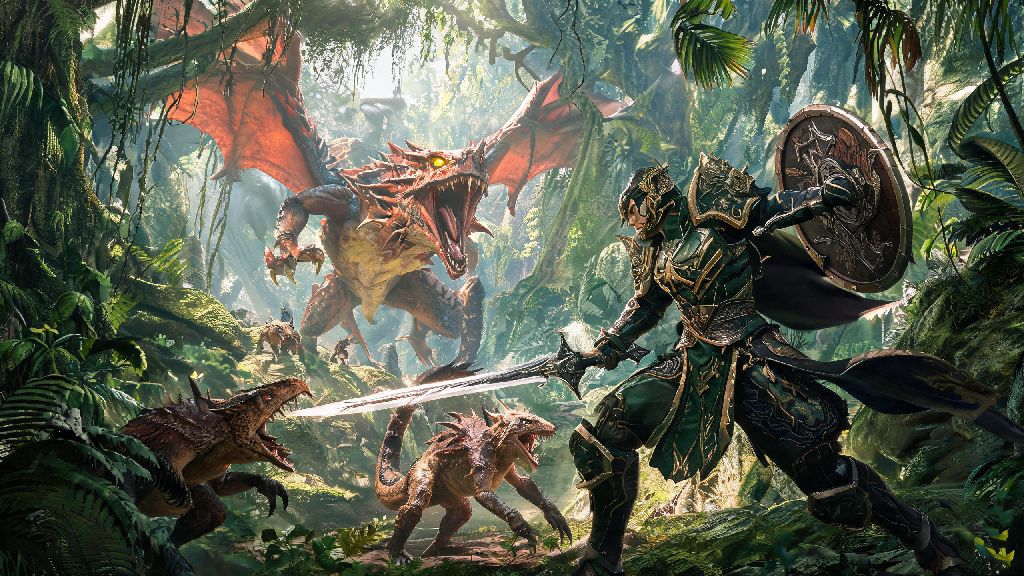
If you’ve spent any time messing around with Monster Hunter Wilds’ opening weapon tutorials, you’ve probably written off the sword and shield as a basic starter weapon for new players. I did the same thing my first 10 hours of playthrough, sticking to heavier options like the greatsword until a random co-op partner carried our entire hunt against a Rathian using nothing but this seemingly underpowered loadout. The Monster Hunter Wilds sword and shield is far more versatile than it first looks, with access to fast attacks, guard capability, and unique item usage mid-combat that no other weapon can match. This guide breaks down everything you need to know to turn this low-key starter weapon into your go-to for every hunt, regardless of monster size or difficulty.
Key Advantages of the Monster Hunter Wilds Sword and Shield Over Other Weapons
If you only ever use the sword and shield for the first few tutorial hunts, you’ll miss out on its unique perks that scale all the way to endgame content. First off, it’s the only weapon in the game that lets you use items without sheathing first. That means you can chug a potion, place a trap, or throw a dung pod mid-attack chain without leaving yourself open to a monster’s counterstrike. It’s a game-changer for solo hunts where you don’t have a support partner to cover you while you heal.
You also get 10% increased part break damage for all slashing attacks, which makes it way easier to carve rare materials from tough monsters like the new Apex Diablos variant added in the recent title update. The short swing radius also means you won’t accidentally hit your co-op partners mid-fight, a common complaint from players who use greatswords or hammers in group hunts.
Its low stamina cost for attacks and guards is another underrated perk. Unlike lances or gunlances that burn through stamina if you hold a guard for too long, the sword and shield’s guard only uses a small amount of stamina even when blocking heavy roars or charge attacks. You can stay in the fight far longer without having to back off to recover stamina.
Basic to Advanced Sword and Shield Combos You Should Master
New players often just spam the basic light attack chain, but you’re leaving 60% of the weapon’s damage output on the table if you don’t mix in combos that activate its hidden damage multipliers. The basic combo for new players is three light attacks followed by a heavy attack, which triggers a downward slash that deals extra stagger damage to monster legs. It’s simple to pull off, and consistent use of this combo will let you knock over even large monsters far faster than heavier, slower weapons.
Once you get comfortable with that, you’ll want to learn the perfect guard counter combo. Time your guard right as a monster is about to hit you, and you’ll trigger a slow-motion window where you can follow up with a high-damage piercing thrust that deals 3x normal damage and has a 70% chance to stun the monster if you hit its head. I use this combo more than any other when fighting fast, aggressive monsters like the Nargacuga, since it lets you turn their attacks against them without having to dodge out of range.
You should also practice the item combo shortcut: hold the guard button and press the item use button to use your selected item without breaking your combat stance. It takes a few hours to get the muscle memory down, but it will save you from more carted hunts than you can count when you’re low on health and a monster is charging straight for you. You can even set custom shortcuts for traps and tranq bombs to capture monsters in seconds without fumbling through your item pouch.
Best Early and Endgame Sword and Shield Builds for Every Playstyle
The best part of the sword and shield is how customizable it is, with builds that work for support players, damage dealers, and even players who prefer a more defensive playstyle. You don’t need rare endgame materials to make a viable build either, there are great options available as early as 3-star hunts that will carry you through to the 7-star content without needing major upgrades.
Here are three builds you can test out depending on your preferred playstyle:
Don’t be afraid to tweak these builds to fit your playstyle, too. If you hate using guard, you can swap out guard efficiency gems for evasion distance gems to make a more mobile, dodge-focused build that still deals plenty of damage. Just make sure you always keep at least one level of speed eating on any build, since it amplifies the weapon’s unique item use perk even more.
Common Sword and Shield Mistakes That Are Sabotaging Your Hunts
Even experienced Monster Hunter players make mistakes with the sword and shield when they first pick it up, because it plays so differently from every other weapon in the franchise. The most common mistake I see is relying too much on guard instead of dodging. While the guard is great for countering heavy attacks, it still deals chip damage, and you’ll wear through your healing items fast if you block every single attack a monster throws at you. Reserve guard for big, slow attacks that are hard to dodge, and dodge smaller, faster attacks to save your stamina and healing supplies.
Another common mistake is forgetting to use the weapon’s item use perk. I’ve seen so many players sheath their sword to use a potion even though they don’t need to, leaving them open to a monster’s charge attack that carts them mid-heal. The muscle memory for using items while guarding takes a while to build, but it’s worth practicing every single hunt until it becomes second nature.
A less obvious mistake is only targeting the monster’s head. While head hits deal extra damage, the sword and shield’s part break bonus works on every part of the monster, and you’ll get far more rare materials if you focus on breaking wings, legs, and tails first before going for the head. It also makes the hunt easier overall, since breaking a monster’s legs reduces its movement speed, and breaking its wings stops it from flying away mid-fight. I always spend the first 10 minutes of every hunt breaking as many parts as possible, and I almost always walk away with 2 or 3 extra rare carves that I would have missed otherwise.
It’s easy to write off the sword and shield as a beginner weapon when you first start playing Monster Hunter Wilds, but its versatility and unique perks make it a top-tier option for every level of play. Whether you’re a new player still learning the basics or a veteran looking for a new main weapon for endgame hunts, it offers a playstyle that’s both accessible and deeply rewarding once you master its hidden mechanics. Next time you’re picking a weapon for a hunt, give the Monster Hunter Wilds sword and shield a try – you might be surprised at how much of a difference it makes to your success rate, both in solo and co-op play.