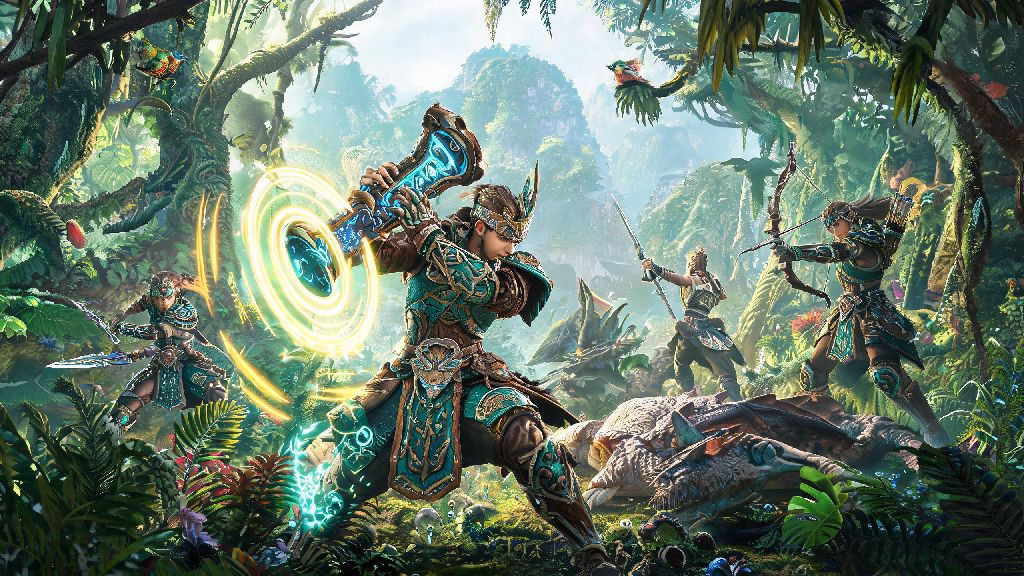
If you’ve ever been stuck on a tempered Anjanath hunt where your team keeps fainting to fire blasts and low stamina, you know how game-changing a good support main can be. I’ve mained Hunting Horn across every Monster Hunter entry since World, and the Monster Hunter Wilds Hunting Horn iteration is easily the most accessible yet, while still keeping all the depth that makes the weapon so fun to master. It’s not just a “buff bot” anymore either—new combo chains let you put out serious raw and stun damage while keeping your team topped up with attack, defense, and stamina buffs that turn impossible hunts into casual walks through Wilds’ diverse biomes. If you’ve avoided the horn in the past because it felt too clunky or complicated, this guide is for you. I’m breaking down everything you need to know to play the horn well, even if you’ve never picked it up before.
Core Mechanics of the Monster Hunter Wilds Hunting Horn
The biggest quality of life update Capcom made to the horn for Wilds is the elimination of manual recitals. In older games, you had to pause combat mid-fight to play your note sequences and activate buffs, which often left you open to monster attacks or made you fall behind the action. Now, you no longer have to pause combat to activate buffs—every attack you land registers a note in your on-screen note counter, and once you hit three matching or combined notes, the corresponding buff activates automatically for you and all nearby allies.
There are three core note types tied to every hunting horn: red (offense), blue (defense), and green (support). The exact buffs you get depend on the combo of notes you land: three red notes give a 30% attack boost for 90 seconds, three blue notes give a 25% defense boost for 90 seconds, and three green notes give 15 stamina regen per second plus a small heal over time for 60 seconds. You can also mix notes to get stacked buffs: a red + blue + green combo activates all three basic buffs at 70% strength for two full minutes, which is the perfect opening move for any hunt.
The Monster Hunter Wilds Hunting Horn also has a new auto-save feature for note sequences. If you dodge or get knocked back mid-combo, you won’t lose the notes you’ve already registered, so you can pick the combo back up as soon as you’re back on your feet. Buff duration refreshes every time you land the same note combo again, so you don’t have to wait for a buff to run out to reapply it mid-fight. I used to spend half my hunts in Rise hiding behind monsters to reapply buffs, but now I can keep wailing on a monster’s head while keeping the team buffed nonstop, which makes the weapon feel way more active and engaging even for solo play.
Best Early and Endgame Hunting Horn Builds
You don’t need rare endgame gear to make the hunting horn work well, but picking the right weapons and armor skills will make a huge difference in how effective you are, both as a support and a damage dealer. For the first 10 low-rank hunts, the Kulu-Ya-Ku horn is the best starting option for new horn users because it has all three note types, 110 raw attack, and no negative affinity, so you won’t get locked out of any core buff combos. Pair it with a mix of Jaggi and Bone armor to get Attack Up (S) and Stamina Thief level 2, which lets you build stun gauge faster to knock monsters out more often.
Once you hit high rank, you can upgrade to the Pukei-Pukei horn, which adds 10 poison damage and boosts the strength of your green note heals by 15% without losing any note types. Swap your armor for the Barroth set to get Guard level 2 and Stamina Surge level 2, which lets you block small attacks without draining stamina and spam combos more often. For endgame hunts (HR 50+), the best all-around horn is the Rathalos Blaze Horn, which has 230 raw attack, 15% positive affinity, 25 fire damage, and all three note types. It’s perfect for both solo play and team hunts, and it works with almost every build type.
There’s a common misconception that hunting horn builds have to be full support, but that’s not true at all. You don’t need to stack pure attack for a horn build, but you can adjust your skills based on who you’re playing with. If you’re running with a full team, add Wide-Range level 3 and Speed Eating level 2 to your build, so any potion you drink will heal all nearby allies for full effect. If you’re playing solo, swap those skills out for Critical Eye level 3 and Weakness Exploit level 2 to boost your damage output. Every Monster Hunter Wilds Hunting Horn build should include at least one level of Horn Maestro, no matter if you’re playing solo or with a team, since it boosts buff duration by 50% and increases green note healing by 30%.
Advanced Combos and Pro Tips for Hunting Horn Users
Once you’ve got the basic note combos down, you can start using advanced moves to deal more damage, control fights, and support your team even more effectively. I’ve spent dozens of hours testing all the new horn moves in Wilds’ training area and real hunts, and these are the three combos you should master first:
One thing a lot of new horn users miss is that the hunting horn deals massive stun damage when you hit the monster’s head. I’ve knocked out a tempered Rathian three times in a single hunt before, just by focusing all my attacks on her head while keeping the team buffed. That stun lock gives your damage dealers 10+ seconds of free hits every time, which cuts total hunt time down by 20% on average. You can parry most monster attacks with the horn’s guard point if you time your heavy attack right. The guard point activates for half a second right as you start a heavy swing, and it blocks all damage without draining stamina, which is a game-changer for tough fights where you can’t dodge out of the way in time. I still mess up the timing sometimes, but even getting it right 50% of the time saves me from wasting potions or fainting.
Common Mistakes New Hunting Horn Users Make (And How to Fix Them)
The biggest mistake I see new horn users make is treating the horn like a regular blunt weapon and spamming random attacks without paying attention to notes. You’re wasting 70% of the weapon’s value if you don’t activate buffs, even if you’re dealing decent damage. The fix is simple: spend 5 minutes in the training area before your first real hunt practicing the three core note combos until you can pull them off without looking at your note counter. After a few hunts, the combos will feel like second nature, and you won’t have to think about them anymore.
Another common mistake is staying too far away from your team during hunts. All your buffs only work for allies within 30 feet of you, so if you’re off chasing a monster alone while your team is fighting from the other side, they’re not getting any of your buffs. The fix is to stick close to your team’s damage dealers, and if you have to run away to heal or sharpen, give them a quick heads up so they don’t push the monster too hard while you’re gone. If you’re playing solo, this isn’t an issue, but it’s a non-negotiable for team play.
A lot of new users also waste their Impact Echo Swing on body or tail hits, which barely do any stun damage. The echo swing does 3x more stun damage if you hit the monster’s head, so always try to position yourself in front of the monster as much as possible. Only go for the tail if no one else on your team is using a cutting weapon to carve it. The last common mistake is skipping the Horn Maestro skill to fit more attack skills. Even if you’re playing a full damage build, Horn Maestro gives you more uptime on your attack buffs, which translates to more total damage over the course of a hunt than a few extra points of raw attack.
At the end of the day, the Monster Hunter Wilds Hunting Horn is one of the most rewarding weapons in the game, both for solo play and team hunts. It lets you carry your team without having to deal the most damage, and the new mechanics make it way easier to pick up than ever before. Don’t let the idea of managing buffs scare you off—once you get the basic combos down, it feels second nature. Next time you load into Wilds, give the horn a try instead of your usual Great Sword or Bow. You might be surprised at how much fun you have, and your team will definitely thank you for the free buffs.